Among the most used traps, especially for less experienced players, the Mortimer is still widely used. Some players consider it to be one of the most efficient traps in blitz chess, where time management is even more relevant.

Play Chess Online - Free Games
How it works:
- 1Play alone
- 2Play with AI
- 3Play in room
- 4Watch the rooms
- 5No Ads, Clean Play Room
Mortimer Trap In Chess
The Mortimer trap gives an apparent impression that the player pulling it off is giving material up, which misleads the opponent. But in the end, it results in an unavoidable attacking combo.
Surely, this trap is easily avoidable for more experienced players. Since it starts with a Ruy Lopez opening and transposes into a Berlin defense, which is an extremely common stance for opening traps, there are several possible traps you can pull.
Play Chess Online - Free Games
How it works:
- 1Play alone
- 2Play with AI
- 3Play in room
- 4Watch the rooms
- 5No Ads, Clean Play Room
However, because the Mortimer trap is such an obvious one, your opponents may fail to trust their guts that you are pulling it off.
That should give you exactly the advantage you are seeking and, depending on the stage your trap is discovered, it may be already too late for your opponent to prevent the damage.
So, don’t mind your opponent’s rating or experience, and give the Mortimer trap a try. Don’t forget, however, to keep an eye out for an early discovery from your opponent’s side.
That may save you from falling into a trap of their own and ending up losing material instead of misleading them into falling for your own basic and obvious one.
How To Perform A Mortimer Trap
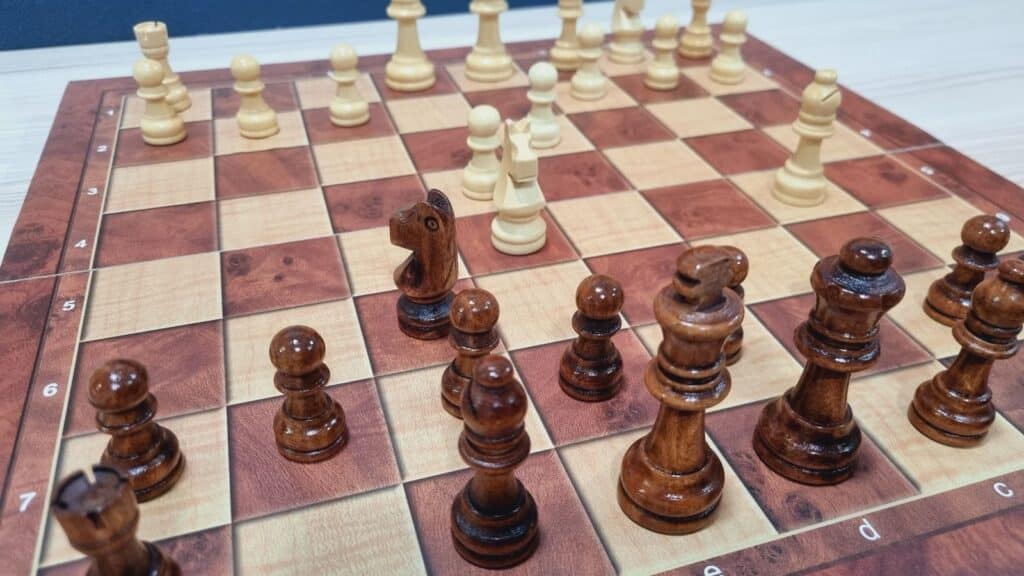
To perform a Mortimer trap, you should start with a Ruy Lopez opening, which is done in three sequences: e4 and e5, then Nf3 and Nc6, and finally a Bb5. At that point, you’ll swiftly move to a Berlin Defense with the black Nf6.
White is not so likely to move d3 to start the central wall formation, but if that happens, the Mortimer trap is ready to be set. Move Ne7, which will make it look like you’re giving up the e5 pawn which white should capture with Ne5.
Then move your pawn to c6 and see white’s bishop having no safe moves on a4 (move the queen to a5 and fork the bishop and the knight while checking the king) nor on c4 (check and fork with the knight on e5). White’s only safe move is Nc4 to prevent the queen from checking the king.
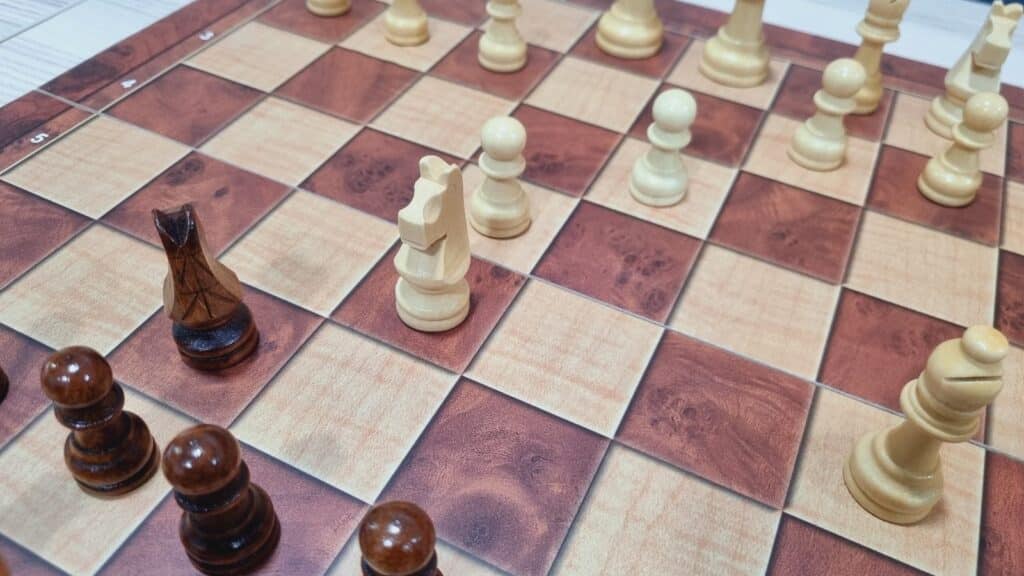
While the white bishop seems open for the take, if black moves that way, the king will be open for a checkmate with the knight, so, black should bring his pawn to d6.
Since the white bishop is still vulnerable, the natural move should be to protect it at a4. Lastly, move your pawn to b5 and fork the knight and the bishop.
The Mortimer trap indeed may seem basic – but considering that you’ll be trading a pawn for a knight or a bishop, the outcome is highly efficient.
Remember, more experienced players will probably foresee your trap and reverse the material advantage, so keep the Mortimer trap for the matches you play against beginners.